Поделиться

How to back up Android phone
Just a few years ago, mobile phones were basic devices that could send and receive voice calls but not do much else. These days, smartphones are about as significant as full-fledged desktop PCs and laptops, and are filled with valuable email messages, contacts, videos, photos, and documents.
People depend on their smartphones every day, and losing the data those devices contain can be as disastrous as suffering through a hard-drive crash on a proper PC. That's why it's important that you back up your phone as regularly and carefully as you do your other devices.
Most major smartphone platforms can back up their data to a computer or to the Internet. In the event of a crash--which, for phones, could literally mean crashing onto the floor and shattering--the data can be easily restored when the device is repaired. Here are a couple of resources you can use with popular Android smartphones to ensure that all of your data is properly backed up.
[ Further reading: The best Android phones for every budget. ]
Let Google back up your settings
Google's Android offers the ability to seamlessly save certain settings like wireless network preferences, bookmarks, and custom dictionary words to their servers using your Google account. To enable it:
1. Go to Settings, Personal, Backup and reset, and select both Backup my data and Automatic restore.
2. Go to Settings, Personal, Accounts & Sync, and select your Google account.
3. Select all of the option boxes listed, to ensure that all available data is synced.
Though the specific procedure may slightly vary between Android devices, the process is generally the same. The above example is for Google Nexus S devices.
Back up additional settings
For data that Google doesn't directly back up (such as SMS/MMS messages, playlists, and alarms), you can use third-party software. One popular choice is MyBackup Pro, which allows secure backups to remote servers or your own memory card, and automated scheduling.
The software isn't free (it costs $4.99), but you can try it free for a trial period to see whether it meets your needs. To begin backing up, simply download the MyBackup Pro app from the Google Play store, and then launch the app from your phone.
Back up pictures and videos manually
For your other important data, you can back up your smartphone to your computer manually.
1. Connect your phone to your computer via a USB cable, and it will show up as an external hard drive. For Macs, you may need to first download a tool called Android File Transfer.
2. Select the disk, and navigate to the DCIM folder. This folder contains your video and picture data.
3. Select the data files that you want to back up, and drag them to an area on your computer, such as your desktop. The selected files will copy over to your computer.
Back up pictures, music, and videos automatically
If the manual process above is too cumbersome, you can use third-party software to automate copying your smartphone data to your computer.
One popular method is to use AirSync from DoubleTwist, which will sync data between your computer (Mac or Windows) and your smartphone, similarly to the way iTunes works for iOS users. AirSync can also sync wirelessly over your network.
Another notable piece of software is The Missing Sync for Android--an all-in-one sync and backup program that is easy to use (and again offers wireless syncing), but has a higher price tag than other choices.
If these options don't appeal to you, consider signing up for free services like Google Music and Picasa, which make backing up your music, photos, and videos to their Internet services easy.
How to back up you IPhone
Mobile phones have become
the bedrock upon which we build our digital lives but unfortunately by their
nature phones are almost always in danger of getting lost, damaged, or stolen.
Most iPhone users think their phones are automatically backed up to iCloud.
However unless you pay for an upgrade you are only backing up a maximum of 5GB
of iPhone data. That means you will likely lose all of your precious photos,
contacts and files unless you have a backup plan in place.
Having a good backup strategy means that you're
protected no matter what happens. Fortunately backing up your iPhone isn't that
difficult. In this guide we take a look at the different options for backing up
your iPhone.
Some may claim that their apps or services can back up your phone, but because of software limitations, they can only do so in part. iCloud and iTunes are the only truly complete options, backing up not only photos and videos, but also your contact list, text messages, applications data, and settings from your iPhone. That being said there are still some issues with relying solely on Apple's standard iPhone backup solutions. Let's take a closer look.
An included feature on every iPhone with at least iOS 5, iCloud will back up your iPhone's data automatically, but first you have to turn the feature on.
Turning
on iCloud Backup:
The first 5GB of files with iCloud Backup are free. If you want more
than 5GB of storage in your iCloud backup, you'll have to pay a monthly fee.
For 50GB you'll pay $0.99 per month. For 200GB the cost is $2.99 per month. And
for 1TB Apple charges $9.99 per month. These prices might not seem steep, but
they're still significantly higher than the prices of most online data storage
services.
Photos and videos can fill up your free 5GB fast. If you take a lot of pictures
and still opt for iCloud Backup, you can choose to back up your most recent
1000 photos in My Photo Stream, and they won't count against your storage
limit. Today's iPhones store up to 128GB of data so even with a 1,000 photos in
My Photo Stream and 5GB of free iCloud storage you can easily run out of free
storage.

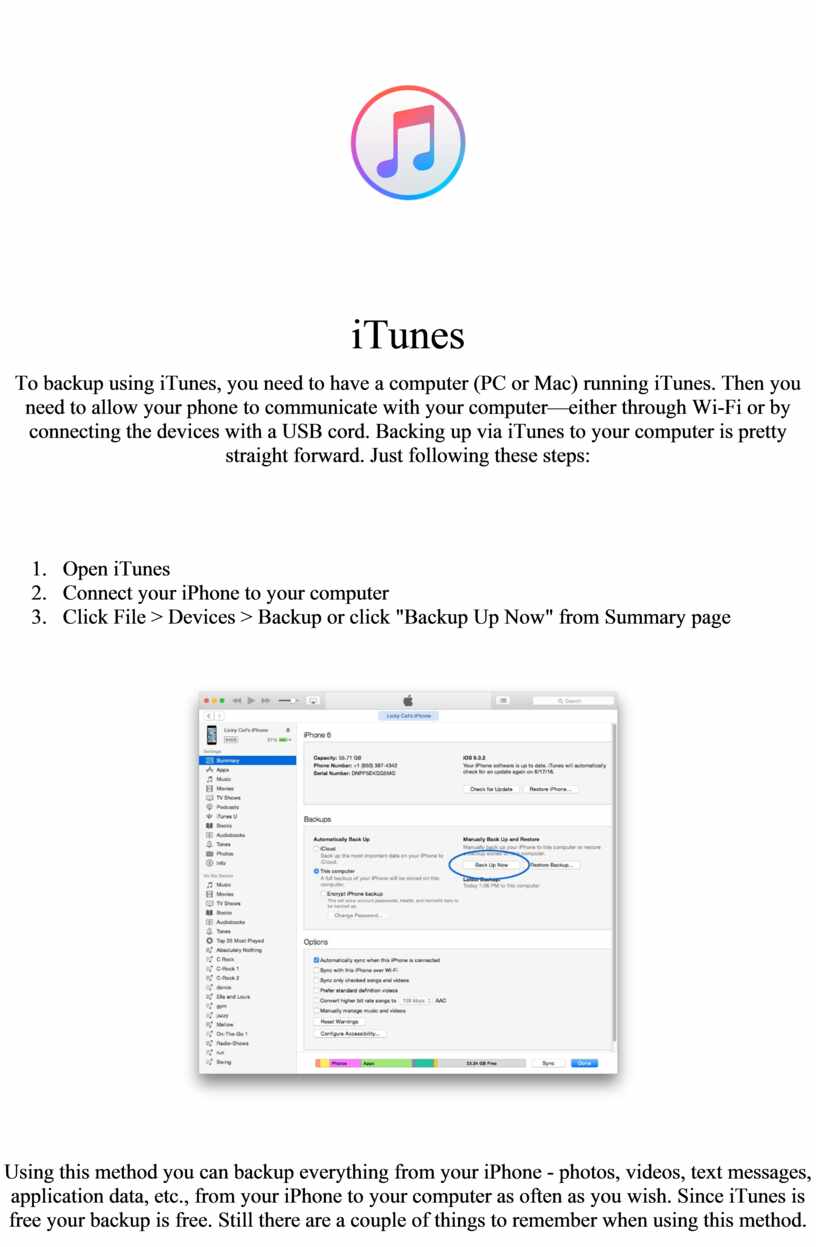
To backup using iTunes, you need to have a computer (PC or Mac) running iTunes. Then you need to allow your phone to communicate with your computer—either through Wi-Fi or by connecting the devices with a USB cord. Backing up via iTunes to your computer is pretty straight forward. Just following these steps:
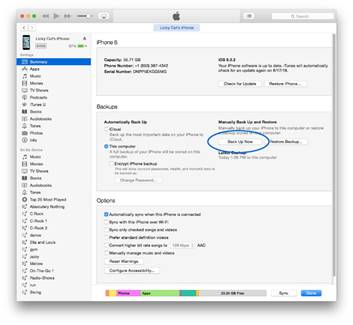
Using this method you can backup everything from your iPhone - photos, videos, text messages, application data, etc., from your iPhone to your computer as often as you wish. Since iTunes is free your backup is free. Still there are a couple of things to remember when using this method.
The primary advantage to using iTunes is that everything on your iPhone can be backed up via iTunes and can be restored using iTunes. With iTunes your iPhone can also easily be backed up to your computer. For completeness, you should back up your computer, more on that later on, but first let's look at non-Apple backup solutions.

Online storage services are applications
that run on your iPhone and backup or sync information from your iPhone into
the "cloud", i.e. the cloud storage for the application you are
using.
Online storage services are typically less expensive than purchasing storage
with iCloud, and if you're not sure you'll stick with Apple forever, they give
you the freedom to switch to Android and still have access to all your data via
your phone. Online storage services are not comprehensive backup solutions:
they typically only backup photos, videos (sometimes) and contacts and don't
back up text messages, voicemail, settings, applications, application data, and
other things you only use on your phone.
Although far from a complete backup solution online storage services are an
excellent supplement when you run out of room on your free iCloud backup. They
can also serve as an alternative backup solution when your computer no longer
has enough space for your iTunes backup. An additional benefit is if you have
Internet access you will always be able to access your files, even if you're
not using your own devices.
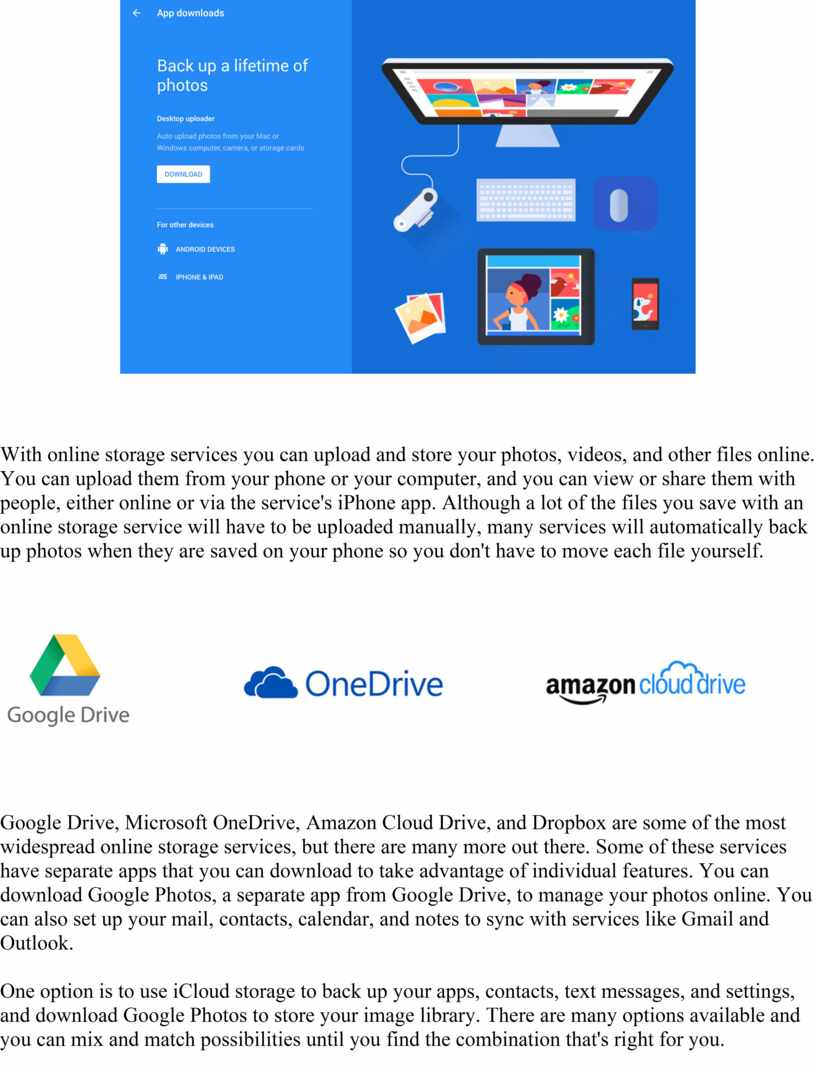
With online storage services you can upload
and store your photos, videos, and other files online. You can upload them from
your phone or your computer, and you can view or share them with people, either
online or via the service's iPhone app. Although a lot of the files you save
with an online storage service will have to be uploaded manually, many services
will automatically back up photos when they are saved on your phone so you
don't have to move each file yourself.

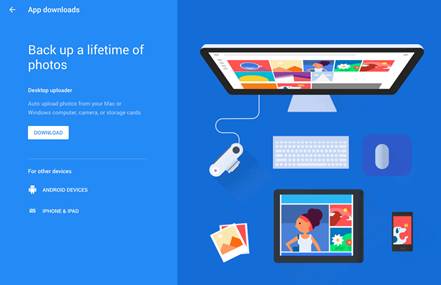
Google Drive, Microsoft OneDrive, Amazon Cloud Drive, and Dropbox are some of
the most widespread online storage services, but there are many more out there.
Some of these services have separate apps that you can download to take
advantage of individual features. You can download Google Photos, a separate
app from Google Drive, to manage your photos online. You can also set up your
mail, contacts, calendar, and notes to sync with services like Gmail and
Outlook.
One option is to use iCloud storage to back up your apps, contacts, text
messages, and settings, and download Google Photos to store your image library.
There are many options available and you can mix and match possibilities until
you find the combination that's right for you.
Скачано с www.znanio.ru
Материалы на данной страницы взяты из открытых источников либо размещены пользователем в соответствии с договором-офертой сайта. Вы можете сообщить о нарушении.